

As I read and researched about what a Japanese style cheesecake was (because I knew it wasn't anything like the New York style ones) the more I found out how finicky they are - kinda like macarons. I'm not a fan of cheesecakes but CHALLENGE ACCEPTED!!
First, a regular cheesecake that you're probably familiar with will have a graham crumb crust, a custard-based cream cheese infused filling, so somewhere between a pie and a soufflé. However, a Japanese style one is essentially a sponge cake with cream cheese infused into it.
Now comes the deceptive part: the Japanese cheesecake consist of a yolks cream cheese batter folded in with a soft meringue. Sounds easy doesn't it? So does the macarons :P

Japanese Cotton Cheesecake
Adapted from Little Teochew
6 eggs, separated
140g castor sugar
60g cake flour
20g corn starch
50g unsalted butter, more for greasing pans
250g cream cheese
100mL whole milk
1/4 tsp salt
8" springform or cheesecake pan
1. Chop up the cream cheese and butter into small cubes or thin slices.
 |
| How quickly do you want your stuff to melt? |

3. Add cream cheese and butter to the milk to melt, stir occasionally until smooth. You may want to use a whisk at later stages of this


4. Let the cream cheese mixture to cool to room temperature before adding the yolks, otherwise, the yolks would cook.

5. Combine flour, salt, and corn starch in a bowl.
6. Whip room temperature egg whites in a very dry and clean bowl until frothy, then add a splash of lemon juice
 |
| This is "frothy" |
7. Continue whipping while slowly streaming in the sugar. Whip until soft peaks. For the last few minutes, whip on medium to low speed to create small air bubbles in the meringue.
 |
| Soft peaks. The peak droops a little when beaters are lifted. |

9. Slightly beat the yolks and add it to the cream cheese mixture
 |
 |
| You may wish to strain your batter at this point to ensure that there are no clumps |
 |
| Smooth |
11. Combine the cream cheese mixture and meringue and fold gently until well combined, the batter may slightly deflate.


12. Pour into a pan lined with parchment on the bottom and slides and also buttered bottom. Do not butter the sides as the cake needs to grip and climb, and also helps minimize shrinking and collapsing
 |
| Trace on parchment |
 |
| Run finger along the edge |
 |
| Trim excess |
 |
| I left a tab for easy peel after |
 |
| My 7" pan, sides lined |
 |
| My 4" mini pan, sides lined |
 |
| This recipe yields a 7" plus 2 x 4" cakes |
13. Place cake pan in a roasting pan and fill it with boiling water. If you are using a springform pan, I suggest you place a pan of boiling water on a lower rack under the cake to prevent water seepage but the steam will keep the cake moist. Also, wrap the cake pan sides in a soaked cotton towel so it will heat slowly and evenly like a water bath would provide. Alternately, you can also try seating your springform pan in a slightly larger regular round pan (doubling up basically) and seat the doubled pans in a water bath.

 |
| Pan wrapped in soaked towel, held together with a sewing needle |
14. Bake at 325F for 1 hour and 10 minutes. Use foil to tent the cake if it gets too brown.
 |
| Set pans in the centre of the water pans |
 |
| Tenting. Shiny side out to reflect heat to prevent further browning. |
16. Bake at 300F for 30 minutes.
17. Turn oven off and leave in oven until cool.
----------------------------------------------------------
The first try yielded a successful cake in terms of flavour and texture but not shape. I did not leave it in the oven after turning it off until cool but left the door ajar to cool. The temperature change was perhaps a bit too dramatic and the cake fell, shrinking at the waist.

 |
| Nope! |
 |
| Correct dense foam texture |
 |
| Showing texture and trimming off the ugly sides |
1. Large air bubbles in your meringue, which expands when heated but shrinks when cooled
2. Protein structure in the uncooked egg whites do not provide enough support
3. Heat is too strong and too quick for the batter
----------------------------------
For Take 2:
To remedy the falling, Meow attempted to use an Italian meringue and a stiffer meringue for the batter. The sugar that goes into the egg whites are boiled with water to 240F and streamed into the egg whites when beating so the egg whites "cook" and stays stable. A stiffer meringue was use also in hopes of holding the batter up better. Neither theory made a difference.
However, when baked with a soaked wet towel around the pan, the results seemed to turn in my favour.
 |
| Left: baked with soaked wet towel Back & right: baked with soaked acetate strip |

Water has a fairly high specific heat capacity compared to metal. That means it will take more energy, and longer to heat water than metal. Therefore, by placing something in a water bath to bake, the heat will be slower, gentler, more consistent and even. You don't really want the air bubbles in the meringue to rise very quickly because the quicker and harder they rise, the harder they fall.
Also, in my Art and Soul of Baking, it explains that sponge cakes, in order to help it rise at a reasonable rate, the sides of the pan should not be buttered as the batter needs to grip and climb. By the same token, once it has gripped and climbed, it is less likely to fall and shrink due to the grip. I know this is called a cheesecake, but it really is using the principles of a sponge cake to have it bake and rise, it just happens to have cream cheese infused into it.

Spun Sugar
Adapted from Art and Soul of Baking
1 cup Sugar
2 tbsp Light corn syrup
1/4 cup water
Cut wire whisks
1. Set up 2 dowel rods and have it secured, lightly oil it. Also, covered work area with parchment/newspaper/silicone mat in case of splashes (there will be!)

 |
| Meow does not have a wire whisk, but she has chopsticks and a heat resistant massage ball! |
3, Cook over medium until all is dissolved and increase heat to medium high and bring to a gentle boil.
4. Cook until syrup turns golden or amber. Keep it light in case you need to reheat it for reuse when it stiffens up.

5. Plunge the bottom of the pan into cold water for 5 seconds. Any longer will solidify the syrup.
6. Dip your tines into the syrup to test the consistency. It is ready for spinning when it falls in thin streams rather than drops.
7. Dip your tines into the syrup and gently fling back and forth between the dowel rods.
8. When you feel you have enough sugar, gather it with your hand, shape as desired but work quickly as it will harden and become crispy.
9. Best to use same day. But may keep well in air tight container at room temperature for up to 2 weeks.


 |
| Just whipped cream with strawberry puree added in to cover the cake |
Adapted from Baking by Jamese Peterson
226 g dark chocolate
1 tbsp corn syrup
1/2 cup butter, cubed or sliced
1. Melt the chocolate with the corn syrup and butter in a heatproof bowl over a pan of simmering water.
2. Stir until smooth. Do not heat the chocolate over 40C.
3. Before coating the cake with chocolate, "seal" the cake with frosting such as buttercream and chill it until set.
4. Place the cake on a cake rack or cooling rack over a pan to catch and reuse the run off chocolate


-----------------------------------------
Take 3:
- Double boiler to insulate heat rather than using wet towel as it dries out, also, springform pan leaks
- Water bath
- No butter on the sides of the pan
- Sit in residual heat until at least 40C before removing from oven
- Sit in double boiler after removal from oven until at least 30C until removing cake
 |
| Double boiler There's a pan in there somewhere... |
 |
| Water bath still with water pans underneath |
 |
| Gripping sides, no butter |
 |
| Top is cracked Oh well, I'll cover it with something |
 |
| Sides are near perfection after slow cooling and moderated baking temperature |
 |
| Slightly lopsided, these things are finicky |
 |
| Pretty damn good... |
 |
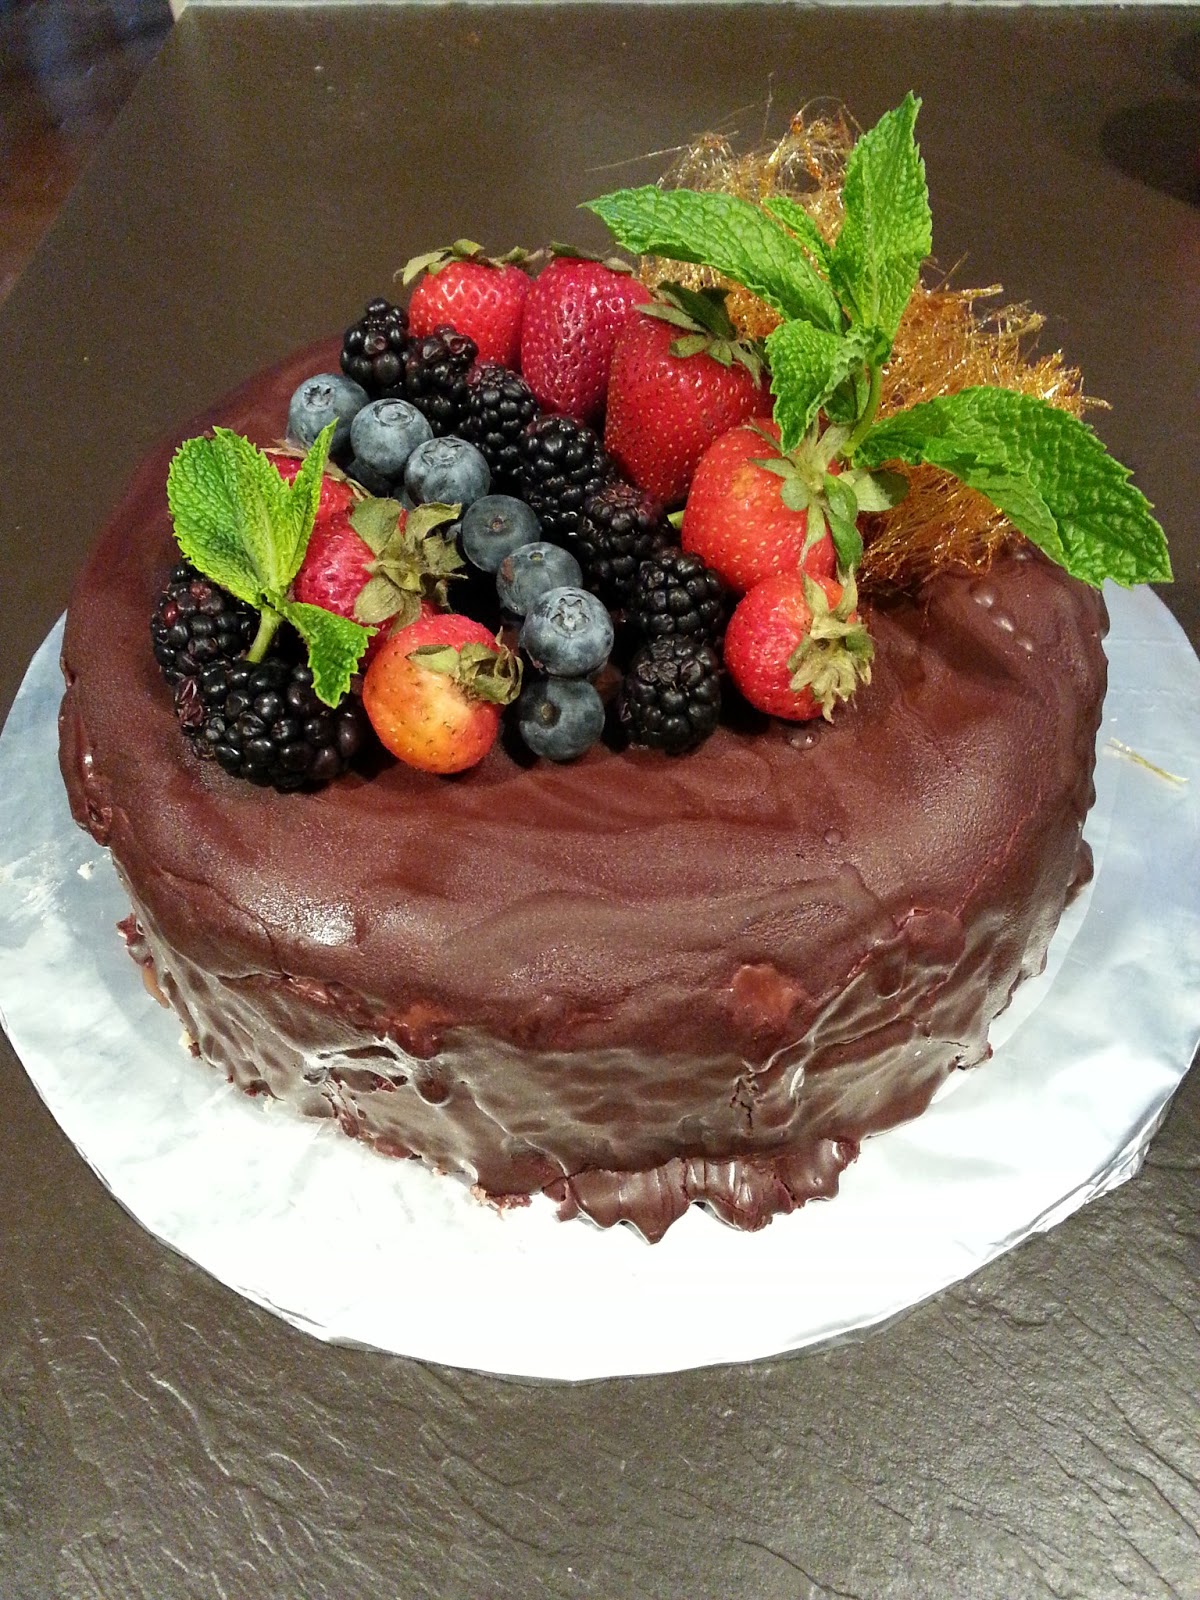
| Chocolate glaze top coat Strawberry Bavaria (mousse) cream in under the chocolate Fruits are dabbed with chocolate to stay in place |
 |
| I need to be happy with drippy sides rather than forcing to fully cover it |
 |
| I need a softer chocolate glaze which doesn't set upon contact |
I almost didn't eat the third cake as I was getting tired of cheesecakes, but Mr. Meow reminded me to try it as it was extra fluffy this time and there was only one last piece left (I took it to a party and people gobbled it up, I overheard one lady commenting about how "that is disgusting how some people can make cake look this good" LOL) Alas, I had a thin slice but forgot to take a picture of the cross section.

No comments:
Post a Comment