
"I feel like having pie!"
So Meow made an apple pie (mainly because I was a little tired of lemon meringue pies).

Like so
My previous apple pies all suffer from the following symptoms:
- runny fillings
- soggy crust
- half cooked apples
- half cooked crusts
- burnt edges
Mr. Meow suggested that I cook the apples first. This gives it a few advantages such as:
- softening the apples
- raw apples will "deflate" as it gets cooked so you won't have a giant gap between the top crust and the filling.
- adding sufficient thickening agent to ensure the filling is not runny
- blind adding is like a shot in the dark, and causes chunks
- can pre-bake the crust so it is fully cooked
- shorter overall bake time
Having made the lemon meringue pie previously, I've learned that insane amount of starches can stiffen the filling nicely and it really wasn't a pain in the ass to pre-cook the fill and crust. In fact, I prefer the results this gets me. So I consulted the interwebs for the best thickening agent because cornstarch wasn't working out for me and found this site explaining what different starches will do; and how people cooked the apples before baking, then devised my own plan.


Cook First Apple Pie
1 9" deep dish pre-made pie crust
1 9" regular pre-made pie crust
Pie weights
6 medium apples (I used red Jazz, about 2.5" diameter)
1/4 cup of lightly packed brown sugar
1/4 cup of granulated sugar
1 tbsp of lemon juice
1/4 tsp of salt
1/2 tsp of ground cinnamon
1/4 tsp of ground nutmeg
6 tbsp of potato starch
2 cups of water
1 egg

Gather your ingredients
1. Preheat your oven to whatever your pie crust package indicates for pre-cooking.
2. Peel and core your apples.
3. Slice the apples thinly. If you have a mandolin, use it. Saves time and effort.

I gave up on the knife after two cuts
4. Place the sliced apples in a DEEP pan or pot.

Not deep enough
5. Add the brown sugar, granulated sugar, lemon juice, salt, nutmeg, and cinnamon to the apples.
6. Toss thoroughly.

Deep pot = easier to toss
7. Place pot of apples on the stove and cook on medium-low, bring to simmer.
8. Once simmering, put lid on until apples start to soften, stirring occasionally.
9. At some point around now, when the oven is ready, pop your bottom pie shell in and pre-bake according to package instructions. I used pie weights this time! Worked like a charm! No bubbles! Be sure to wrap the edge with tin foil though, they tend to crisp, you don't want that yet.
10. Once apples have started to soften, make a solution of potato starch with the water.
11. Slowly, pour your starch solution into the apples.
12. Stir, and keep adding the starch solution until there is enough brown jelly (from mixing with the sugar) formed to hold the filling together.
13. Pour the hot filling into your bottom pie shell. Spread the filling around. There is really no more moving around with the filling when it's inside the oven to bake.
14. Brush the inside and edges of the top pie shell and invert it over your pie with filling.

With top on
So smooth and prestine...*caress*
15. Use the handle of a fork to lightly press the edges together to seal.
16. Use a paring knife to cut vent holes. Make it look pretty. You can also poke vent holes with a fork too.

I don't know what I'm doing here with the paring knife.
17. Brush the top and edges with egg wash.
18. Wrap the edge with tin foil, but don't press the foil down or it'll stick!!
19. Bake the whole pie in the oven at 375F for about 30 minutes or top is golden brown.
You can remove the tin foil and brush extra egg wash half way through.
If foil is stuck to the pie crust edge, use a paring knife to carefully shim the two apart.
20. Serve with ice cream. Store covered in fridge.

Ta-da!
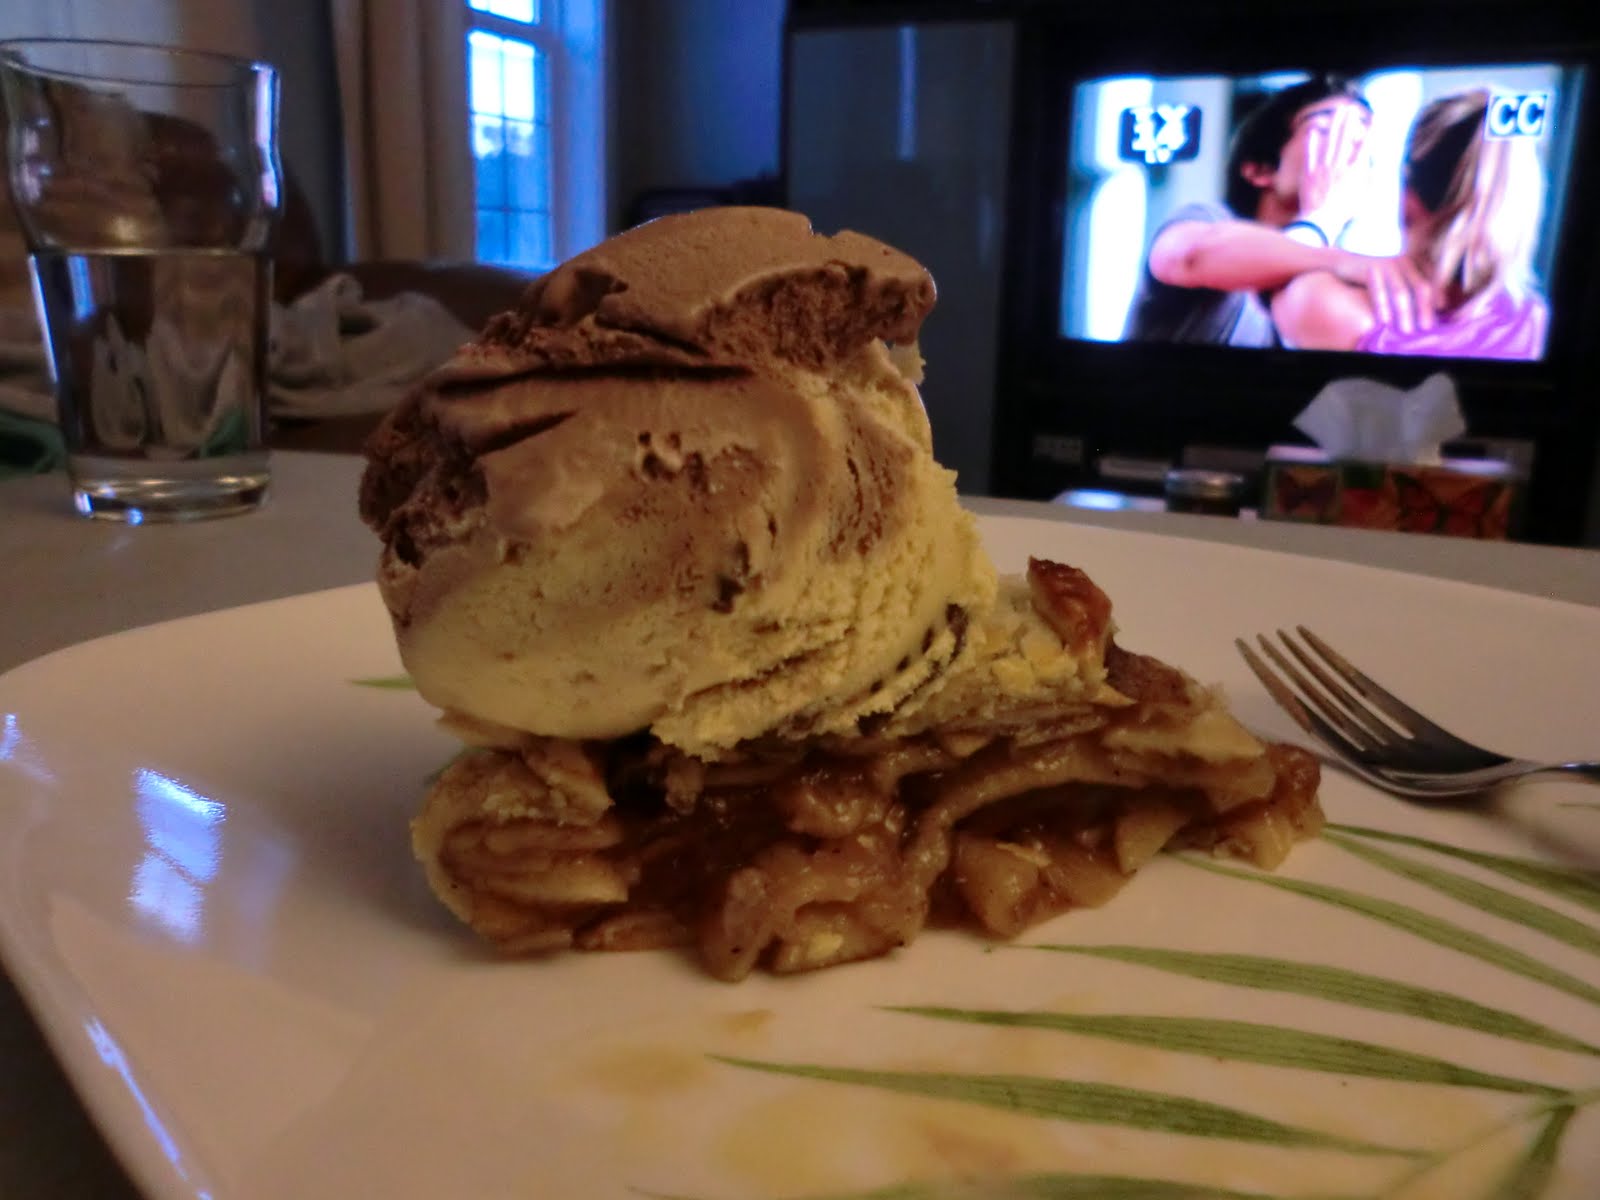
Day of baking. Ice cream is squishing the filling out.
"Covert Affairs" playing on TV. Annie is kicking ass.
--------------------------------------------------
Something I've noticed about this pie is the use of potato starch. I really don't like the smell of it when it's warm. I added some nutmeg and cinnamon on top of what was stated in the recipe while the apples were cooking to cover the smell. It was fine when I had the pie on the first day at room temp, but the smell came back the second day when I had it warmed up. It's not a vile smell, but I certainly don't like it. There is no extra flavours added by it though. Maybe tapioca starch next time.

A look at the sturdiness of the filling sans ice cream squishing it.
Day old

Not leaking on this side either.
Day old
I do like how the excessive amount of starches can hold the filling up. Mr. Meow loves the filling, but finds the store bought crust a bit crumbly and starchy and suggests I make my own pie crust next time. Which is fine, it certainly makes sealing the top much easier because I can roll out the dough so it has an excess of overhang.

Filling held up. No apple pie "soup"
This pie kept much better than the lemon meringue pie. For starters, I could actually put cling wrap on it rather than using the stupid cake dome with the meringue pie. There is a tiny amount of condensation but that it expected, though there is no insane amount of beading the next day.

Dry


No comments:
Post a Comment